Hosted Payment Page
The hosted payment page allows integrators to create customers payment methods in a secure manner.
Important Note:
When using iFrame to load Ezypay's Hosted Payment Page, ensure that the code is tested using a hosted server. Using your local HTML file to test the iFrame will not guarantee the window listener would be able to return the payment method token in a timely manner.
The Hosted Payment Page is not applicable for South Korea - Please refer to the Korean Hosted Payment Page for more details.
1. Create a Hosted Payment Page
What each field means when building the hosted payment page address:
| Parameter | Description | Notes |
|---|---|---|
| token | Can either be the "Authentication Token" (used when calling the API's or generate a hosted payment page authentication token. | |
| countryCode | Will add the country code the merchant is in: a) AU, b) NZ, c) SG, d) PH, e) TH, f) MY | |
| paymentMethods | Below are the payment method types possible: a) BANK b) VISA c) MASTERCARD d) AMEX e) PAYTO (AU ONLY) Each region has their own support payment methods. Here is a list of the support payment methods for each country. | If the paymentMethods is specified, it will only display the specified payment method types. If the paymentMethods is not specified, the Hosted Payment Page will automatically load the payment method type available for that region. |
| mandateTypeId | This is applicable to PayTo only. Currently this value is applicable to PayTo users only. However, this may change in the future. Mandate Type ID example : ba3039d6-e7d4-11ec-8fea-0242ac120002 | If this value is not specified or if an invalid value is submitted (e.g. mandate type ID belonging to a different merchant), the PayTo tab will not load in HPP. |
PayTo Integration (Only available in Australia)
Understand how to retrieve the default mandateTypeId with this link.
Integrator will add this page into an in their front-end code.
The page URL added into <Iframe> will be:
All parameters the Hosted Payment Page URL can accept:
<script type="text/javascript">

//Without PayTo enabled
$("iframe").attr("src", "https://vault-sandbox.ezypay.com/paymentmethod/embed?token=" + authenticationTok + "&countryCode=" + region + "&pageType=customer");

//OR with PayTo enabled (Only in AU)
$("iframe").attr("src", "https://vault-sandbox.ezypay.com/paymentmethod/embed?token=" + authenticationTok + "countyCode=AU&mandateTypeId=" + mandateTypeId);

</script>
HTML code sample
<iframe id="payment-frame" style="border: 0; width: 800px; height:620px"></iframe>
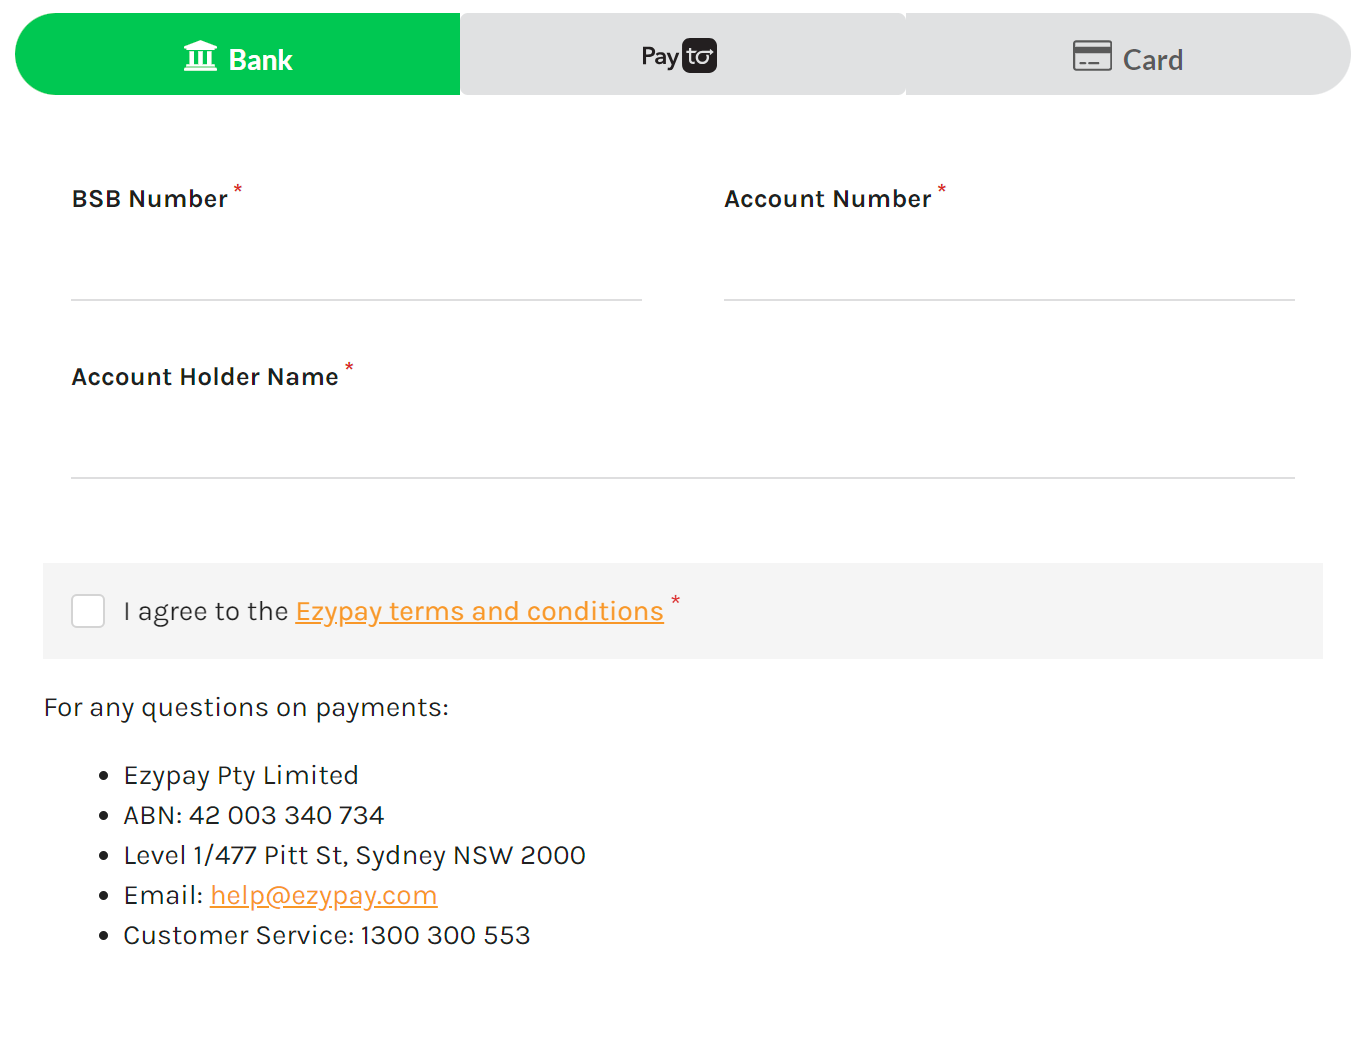
Sample on how the hosted payment page looks like:

2. Submit the form once it has been filled up
Integrators will need to create the "submit" button on their end to POST the payment information collected from the Hosted Payment Page (in the Iframe) and setup a window listener to retrieve the Payment Method Token returned.
An example of how the hosted payment page will be delivered to Ezypay.
<script type="text/javascript">

//Triggered by the button
 function sendPayment(e, type)
            {
                var hostedpage = "https://vault-sandbox.ezypay.com";
                var receiver = document.getElementById('payment-frame').contentWindow;
                receiver.postMessage({ actionType: type }, hostedpage);
                retrivePaymentTokenCreated(e);
            }


            $("#PostPaymentMethod").click(function (e) {
                sendPayment(e, 'create');
            });

            function retrivePaymentTokenCreated(e) {
                window.addEventListener('message', function (e) {
                    var response = JSON.parse(e.data);

                    if (response.data.type) {
                        $("#PaymentMethodResponse").text("Payment Method Token: " + response.data.paymentMethodToken + " with Type Account: " + response.data.type);
                    }
                    if (response.error) {
                        $("#PaymentMethodResponse").text("Error occured");
                    }
                });
            }

</script>
Updated 4 months ago